
Step 1 #
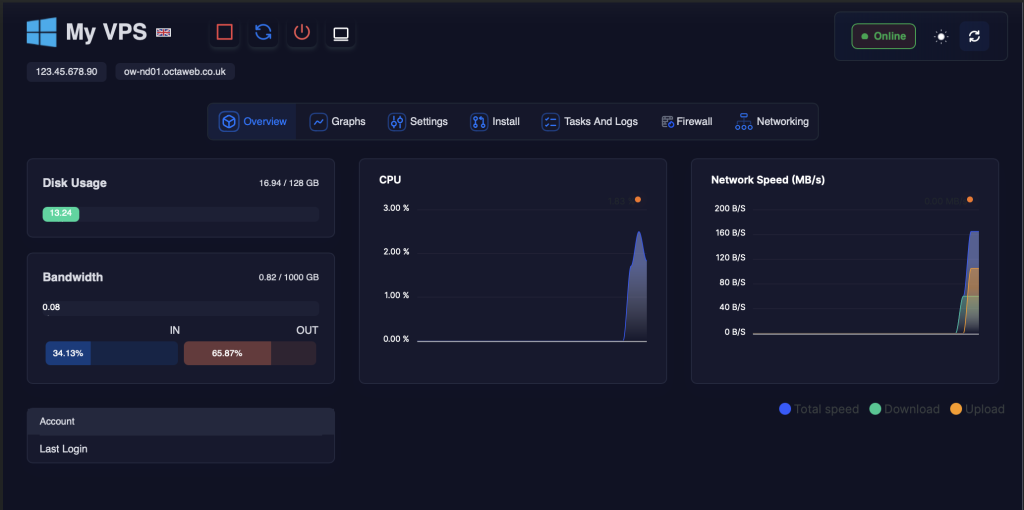
Please head to your Client Portal -> Services -> My Services -> Select your VPS -> Scroll down until you see the VPS Panel
Step 2 #
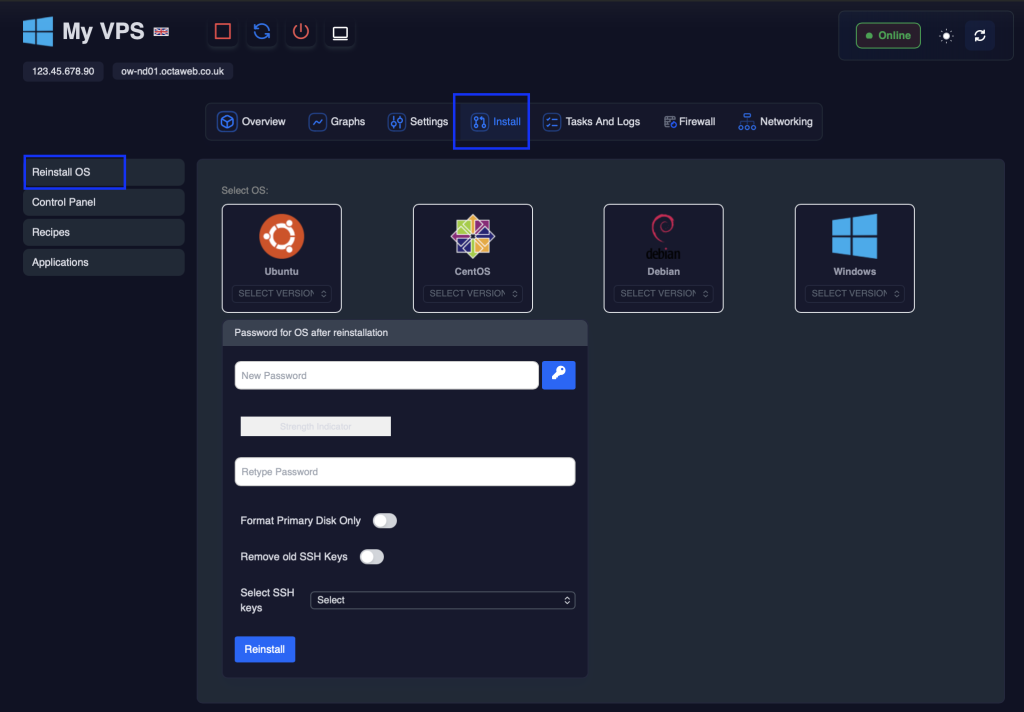
Click on “Install” followed by “Reinstall OS”
Step 3 #
From this page select your operating system and input the VPS Password.
You can ignore the format primary disk option.
Step 4 #
Click reinstall and then acknowledge the popup
Step 5 #
You will then see a message advising of the next steps.
Important:
Please allow around 5-10 minutes for the VPS to install.