
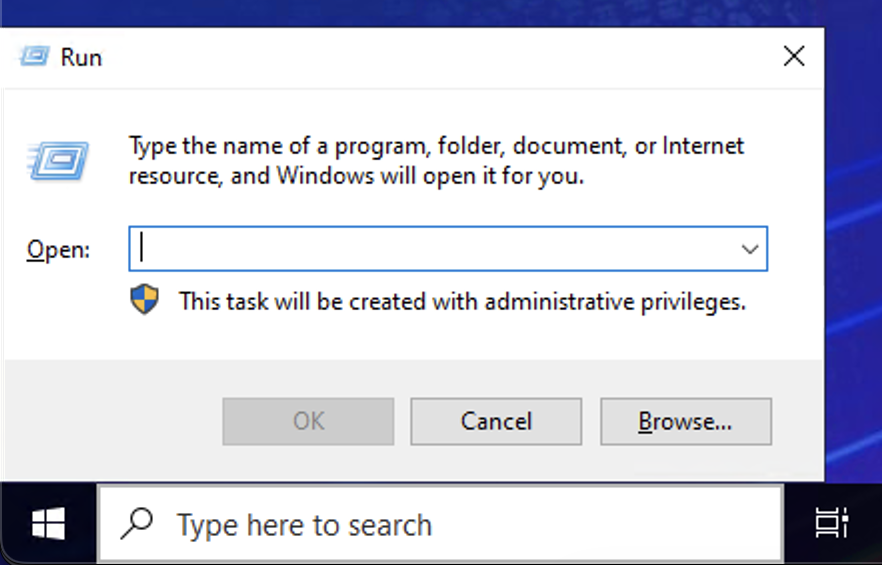
Step 1 #
Press Windows Key + R to open Run
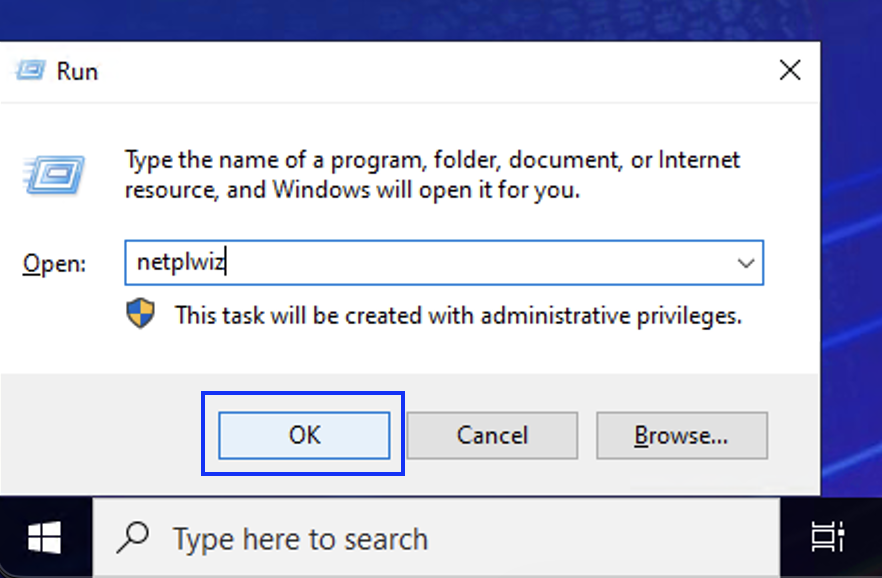
Step 2 #
Type “netplwiz” and press ok
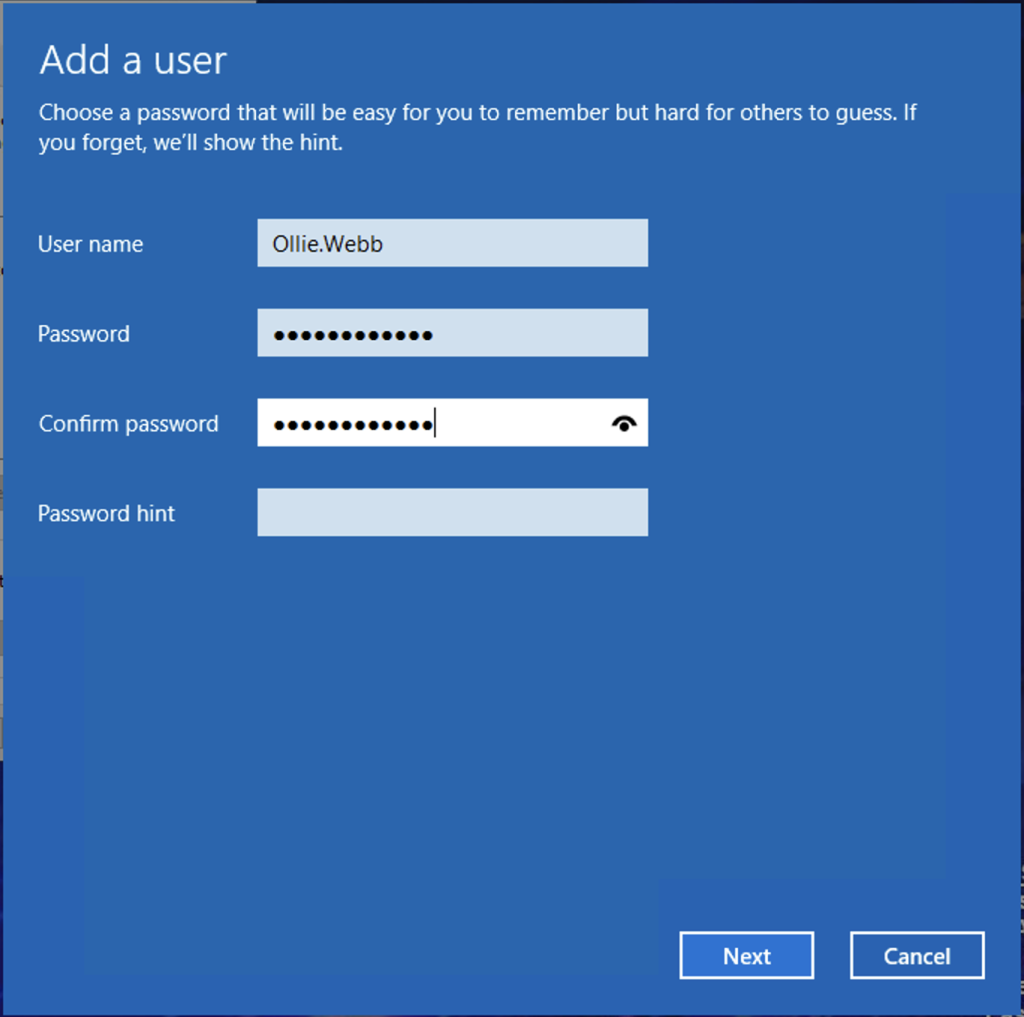
Step 3 #
Press ‘Add’ and create the account
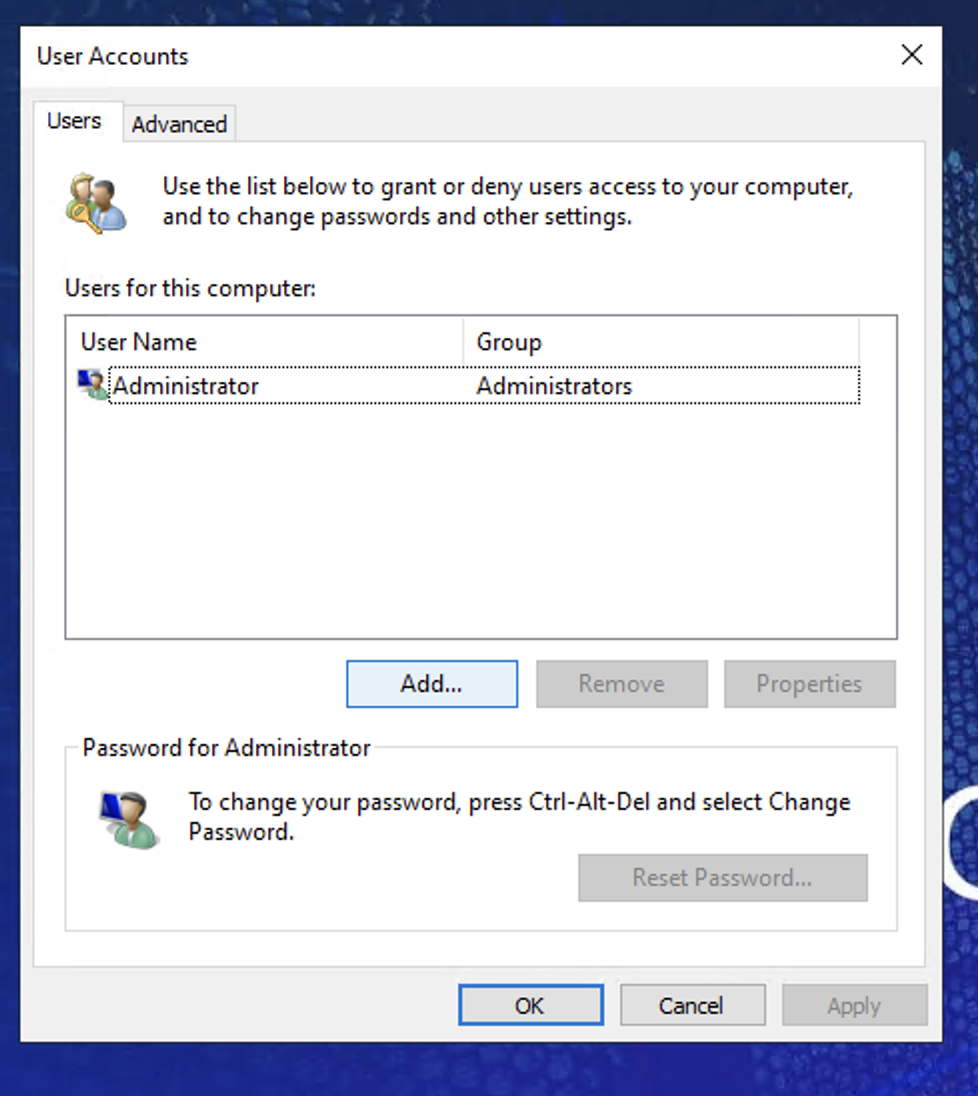
Important:
Never give secondary users admin privileges unless you trust them completely.
Step 4 #
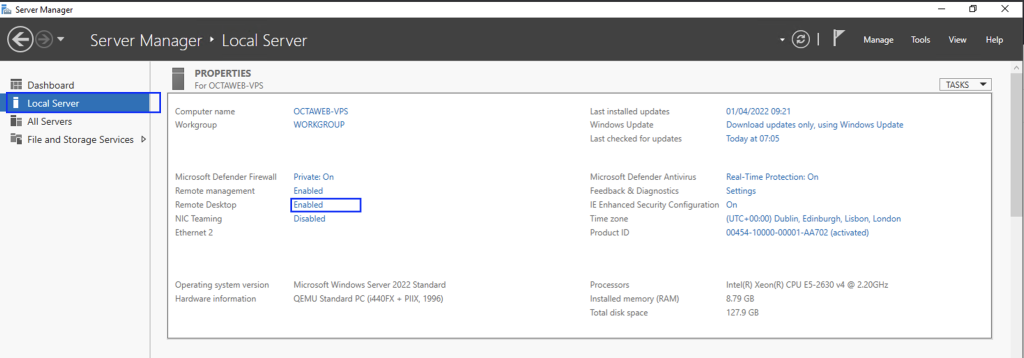
Open up Server Manager (WIN+R > ServerManager)
Click on Local Server and find ‘Remote Desktop’, Click on ‘Enabled’ next to it
Step 5 #
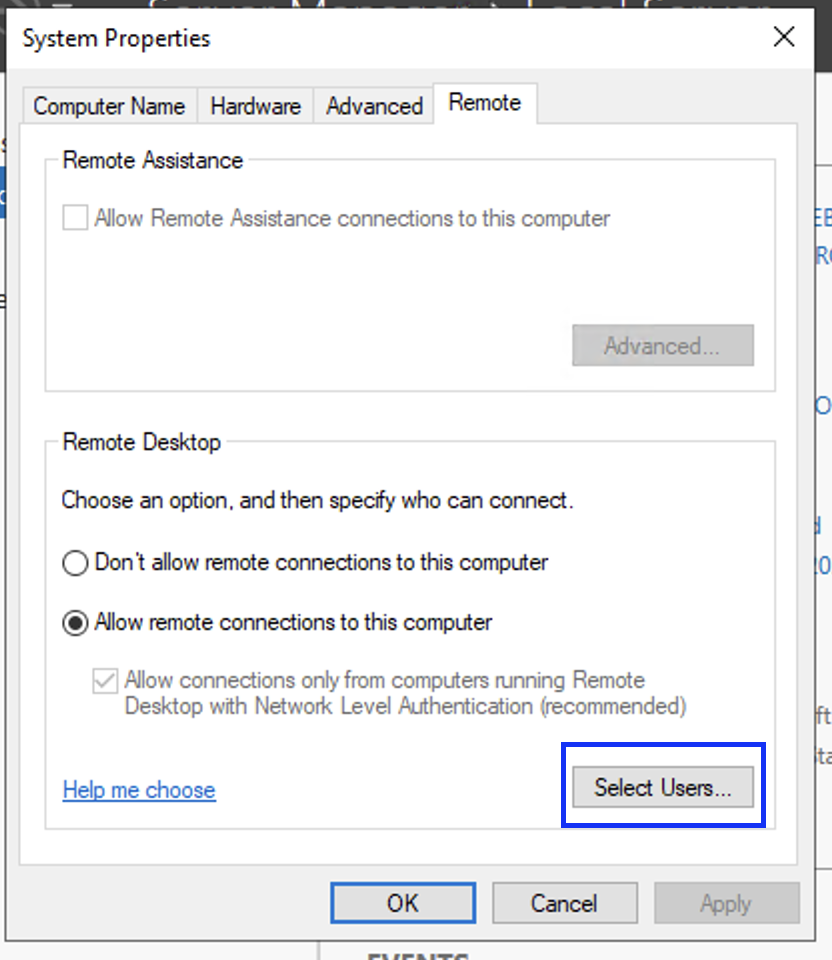
Click ‘Select Users’, then ‘Add’
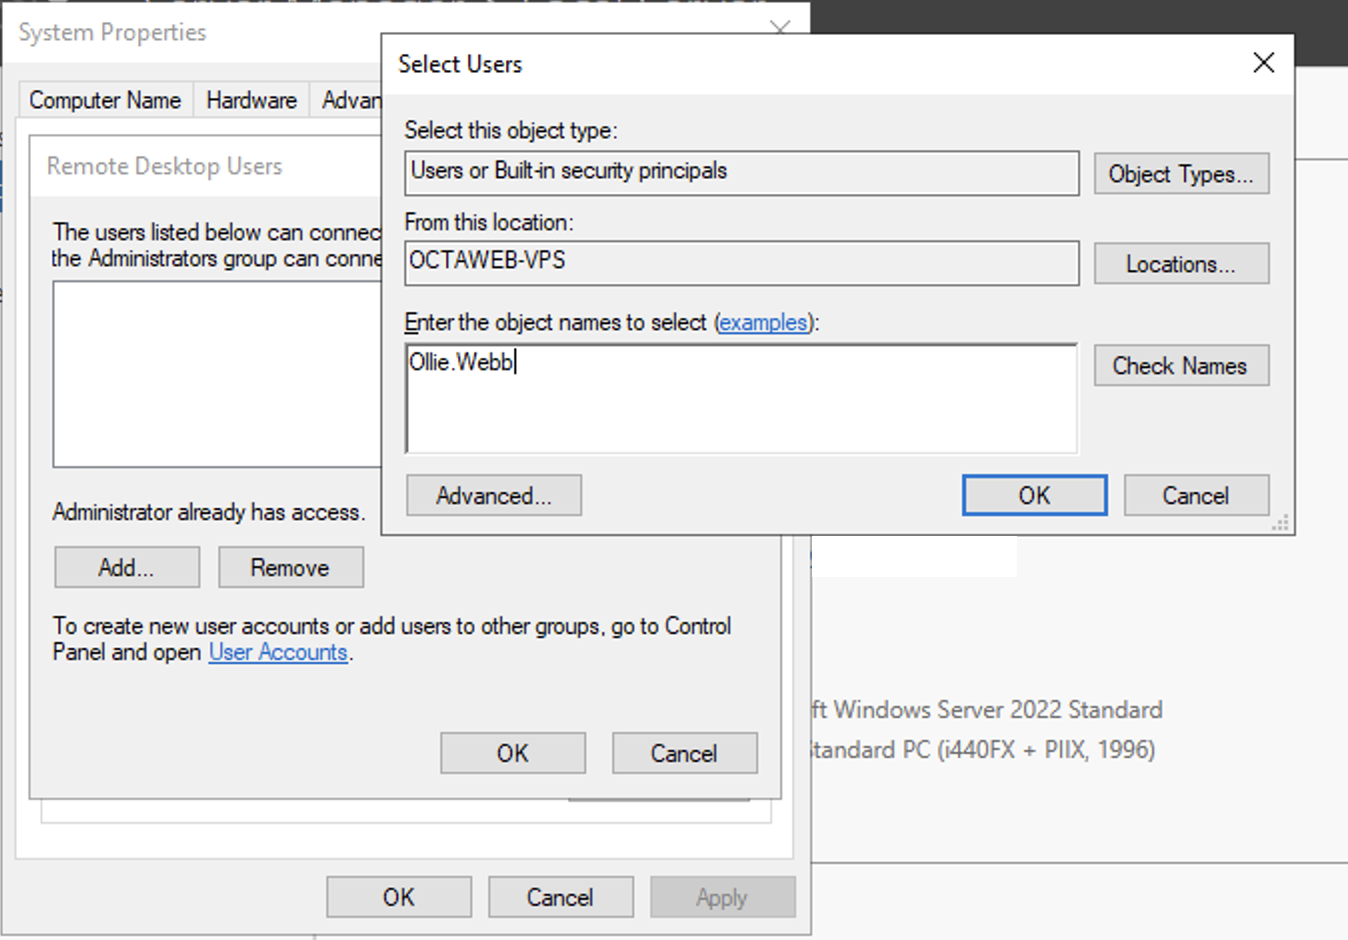
Type in the Username of the User you created (in this case ‘Example’) and press ‘OK’ until you’re back on the System Properties page. Press ‘Apply’, then ‘OK’ to close it down.