Upgrading your VPS to the next available plan has never been easier. Just follow these steps:
Step 1: Access Your Client Portal #
Log in to your client portal using your credentials. Once logged in, navigate to the VPS section and select the VPS you wish to upgrade.
Step 2: Initiate the Upgrade #
Click on the Upgrade button and choose the new VPS plan you want to upgrade to. You will be shown the upgrade price, which is calculated based on a credit for the unused portion of your current plan and billing for the new plan for the same period (in days).
Step 3: Make the Payment #
Complete the payment process for the upgrade. Once the payment is confirmed, simply stop your VPS, wait for the machine to power down, and then start it again for the changes to take effect.
Please ensure you perform a ‘system stop’, not restart or ‘power down’.
Step 4: Ensuring your machine has upgraded #
Once your upgrade order has completed, we require you to perform a few steps to ensure your machine upgrades successfully.
- 1. Open your Client Portal
- 2. View your services, and select the VPS you’ve upgraded
- 3. Scroll down until you see your VPS Panel – it should look something like this:
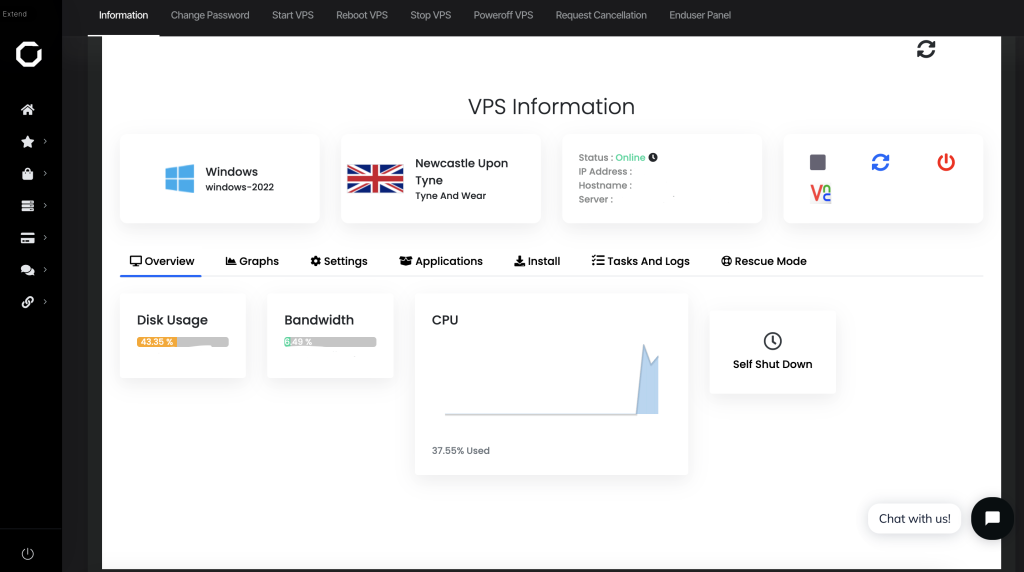
- 4. Press the Stop Button (NOT the power off button, or restart button)
- 5. When the machine has stopped, start it again.
Step 5: Handling Storage Increases #
Storage may not increase immediately after the upgrade. To complete the storage upgrade, follow these steps:
- Log In to Your VPS: Access your VPS via remote desktop or your preferred method.
- Open Disk Management: Open the Disk Management utility. The unallocated space on the disk drive appears at the right and is outlined in red.
- Extend the Volume: Select and hold (or right-click) the volume you want to extend, and then choose Extend Volume. The Extend Volume Wizard opens.
- Use the Wizard: In the wizard, click Next. Under Select Disks, choose how much disk drive space to use to extend the volume. The default option is to use all available unallocated space (Maximum available) on the disk drive.
- Complete the Extension: Click Next again, and then Finish to extend the volume.
Important Note #
Please note that you cannot remove storage from your VPS. To reduce storage, a full machine reinstall would be required.
Need Assistance? #
If you encounter any issues or have a request for a custom upgrade, don’t hesitate to reach out to our support team. We’re here to help ensure your VPS upgrade is smooth and successful.